Search

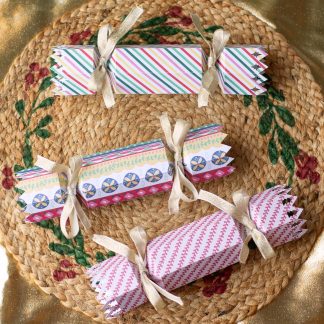
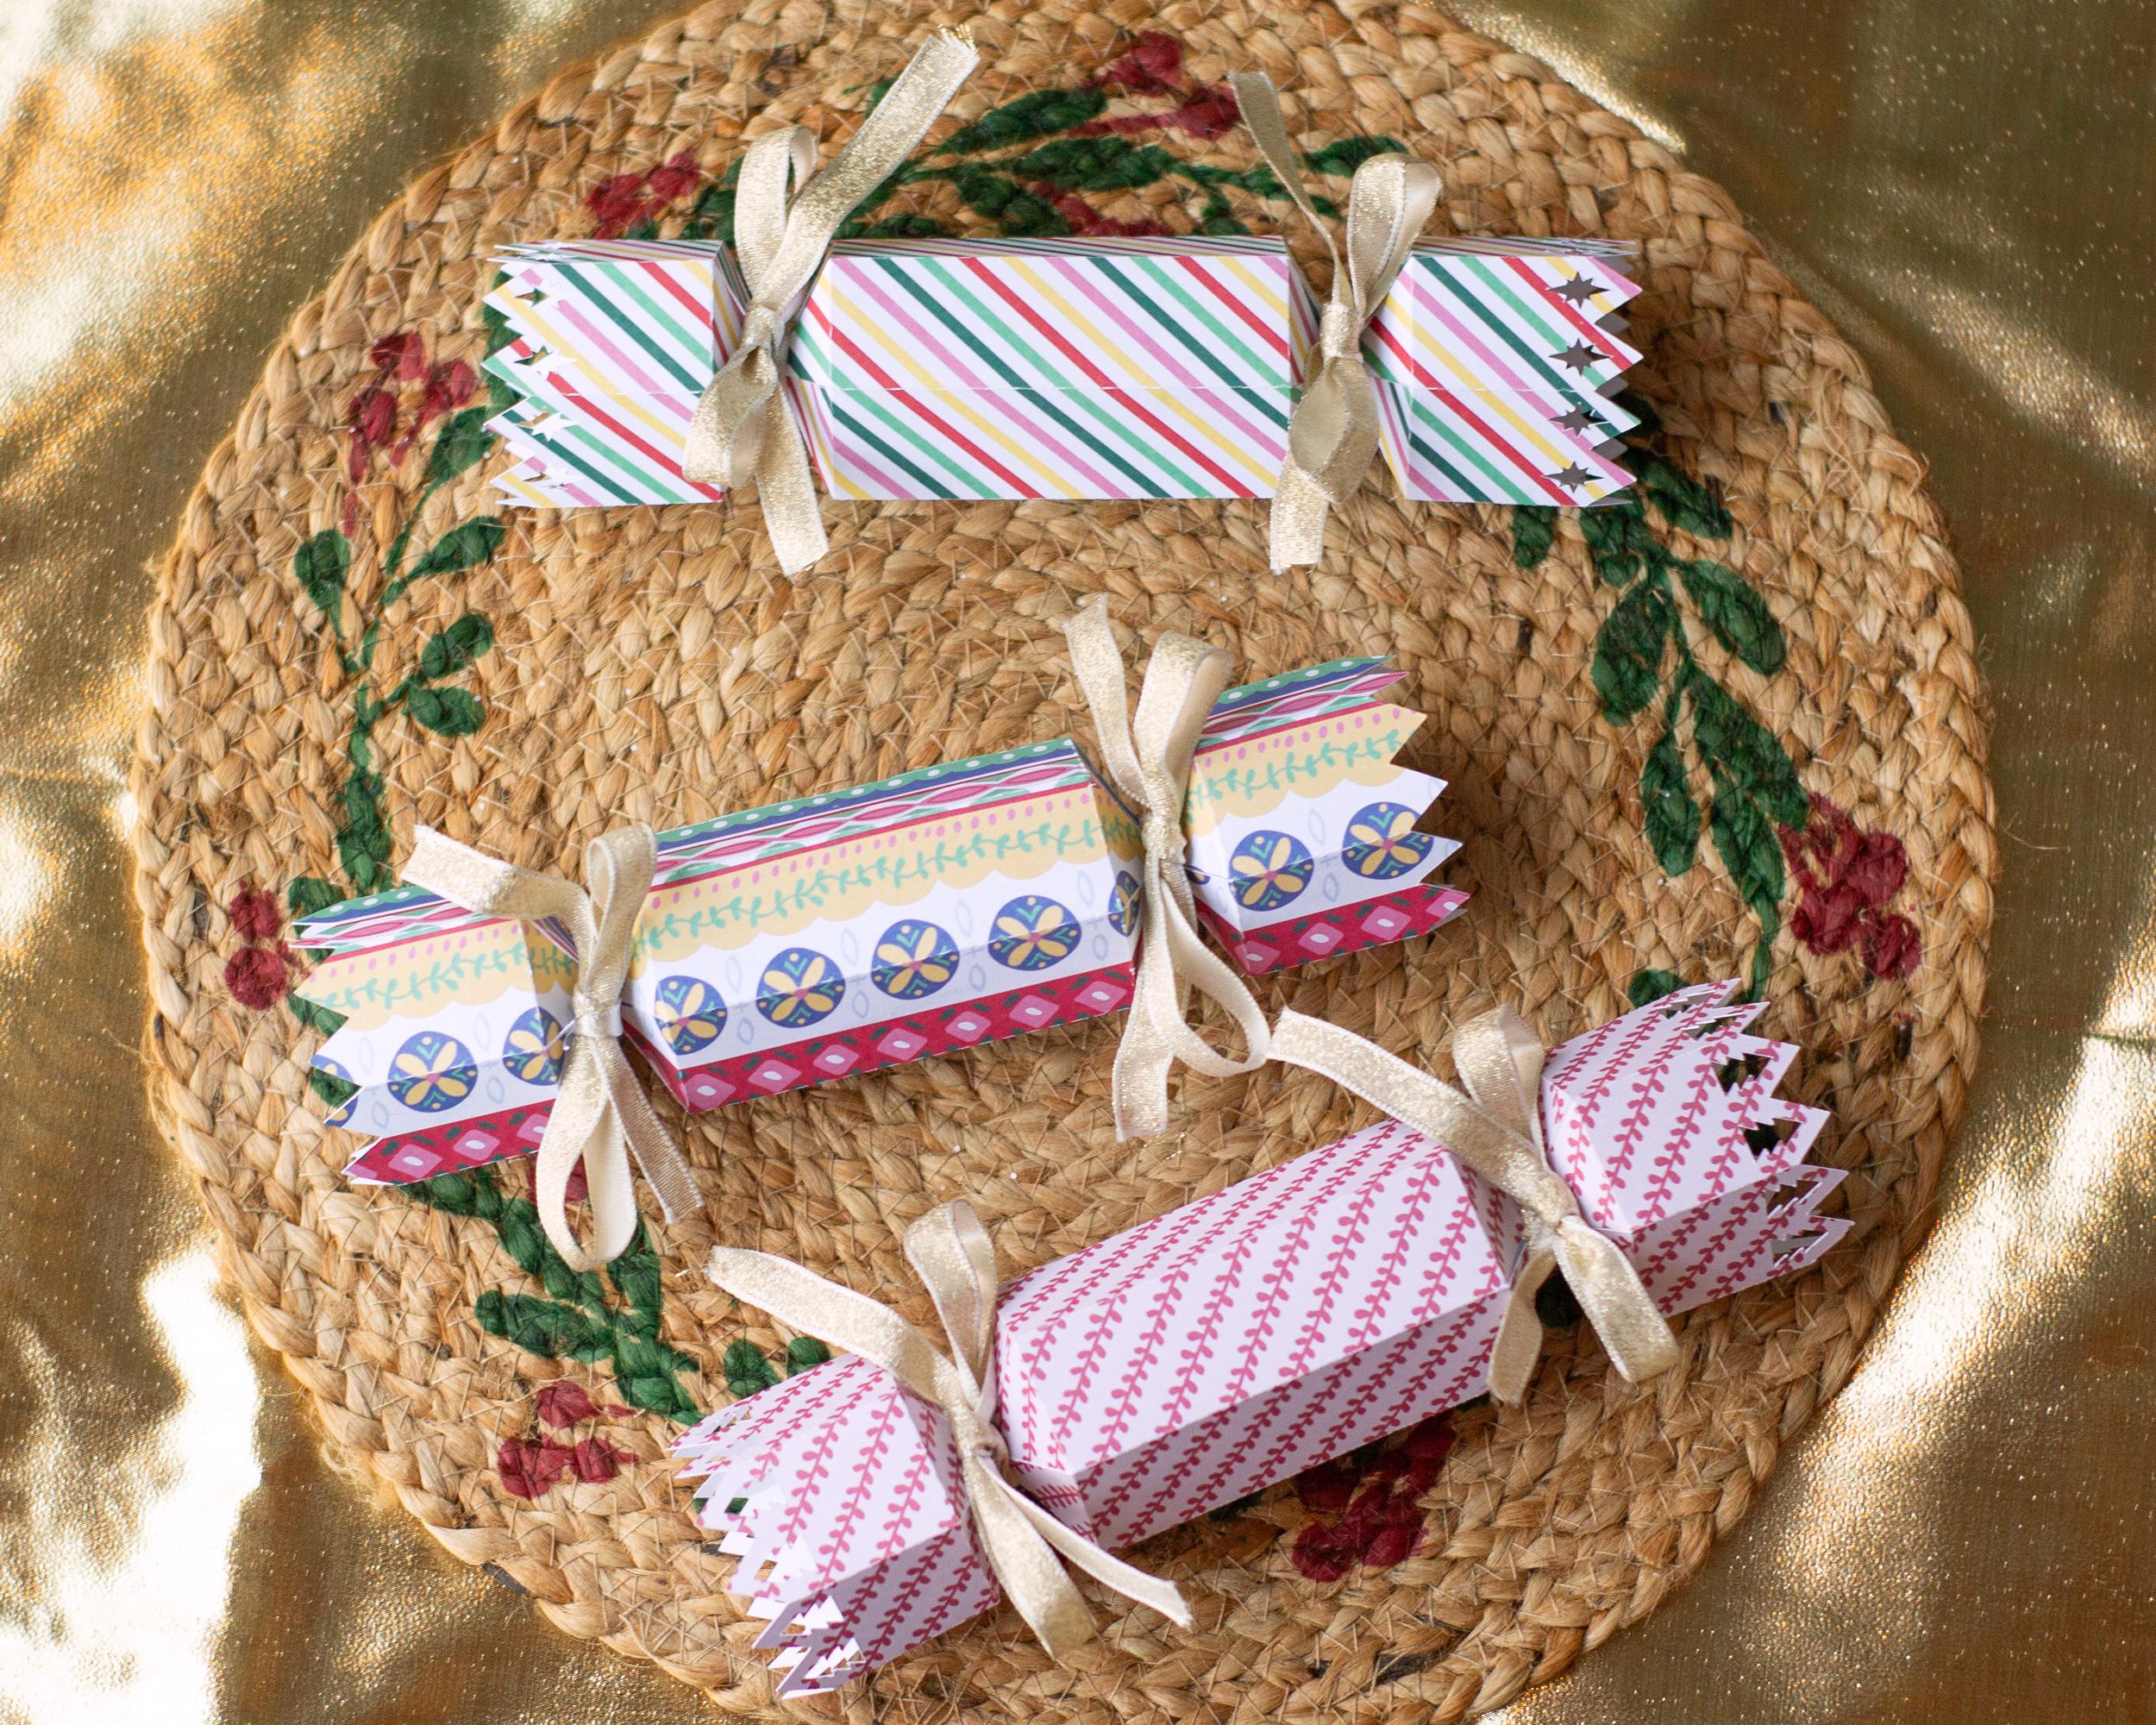
Christmas Paper Cracker Bundle of 4: Snowflake, Christmas Tree, Christmas Star, and Simple Zig Zag

SKU: 23CM0159

Fun and festive set of four different Christmas paper cracker designs! These adorable paper crackers are wonderful to fill with candy, and add a name tag to them, and they make fun placeholders for Christmas dinner. Choose one design for everyone, or mix and match the designs for even more fun. These designs, particularly the star and simple zig zig, would also work for other occasions, so you can keep using these well after the holiday season is over. Super easy to assemble, and requires no glue or adhesive (though you’ll be able to add some if you want). A fun, festive, beginner friendly Christmas paper craft!

Each design has a different cut out design on the edges of the paper cracker, and you’ll receive the following designs:

-a Christmas tree paper cracker
-a star paper cracker
-a snowflake paper cracker
-a simple zig zag paper edge cracker that can be used for any occasion

$3.49

Finished Project Size

8.25" wide x 2" tall x 2" deep

File Format

SVG

Compatible With

8.5" x 11" and larger cutting machines

Instruction Type

Written

What You'll Receive:

Please note: this listing is for digital files only, so no physical item(s) will be received in the mail.

• SVG File (with scored folds, for use on a Cricut machine with a score tool)

• SVG File (with dashed cut folds, for use on any machine - Silhouette, Brother Scan N Cut, Cricut & more)

Supplies You'll Need to Make This:

• Paper: card stock - 175 gsm or higher recommended

• Adhesive: no adhesive needed

•Ribbon

Assembly Instructions:

1.Bring the side with the tabs toward the side with the slits that are for the tabs to go into. 2. Starting with the tabs in the center, slide one of the tabs into the corresponding slit part of the way. 3. Slide the other center tab into the corresponding slit part of the way. Once both tabs are into each slit, gently push them both in all the way so the seam is closed. 4. Push one of the end tabs into the corresponding slit so it’s in all the way, then repeat with the other end tab. If you want to make things extra secure (and harder to open) you can add a little glue to these end tabs and press them against the inside. 5. Tie ribbon around one end where the triangles narrow, then tie it in a bow. Note that tying this tight will make opening more difficult. Repeat tying the ribbon on the other end of the cracker.

This project comes with a PDF of detailed instructions and project info in the file download.

Share this design:

you may also like