Mom Card – Paper Cut Style Dimensional Flower & Butterfly Mom Card SVG Cut File + 5×7 Envelope SVG

Beautiful, paper cut style mom card with dimensional flowers, leaves, and butterflies. This mom card SVG would make a beautiful mothers day gift, mom birthday gift, or any occasion that you’re giving mom a card. Though this card has a beautiful, impressive appearance, your cutting machine does most of the work for you and it is super easy and quick to make. This beautiful card is a keepsake your mom will want to keep for years to come.

Mom Card – Paper Cut Style Dimensional Flower & Butterfly Mom Card SVG Cut File + 5×7 Envelope SVG

Description

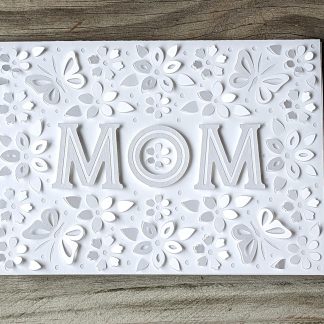
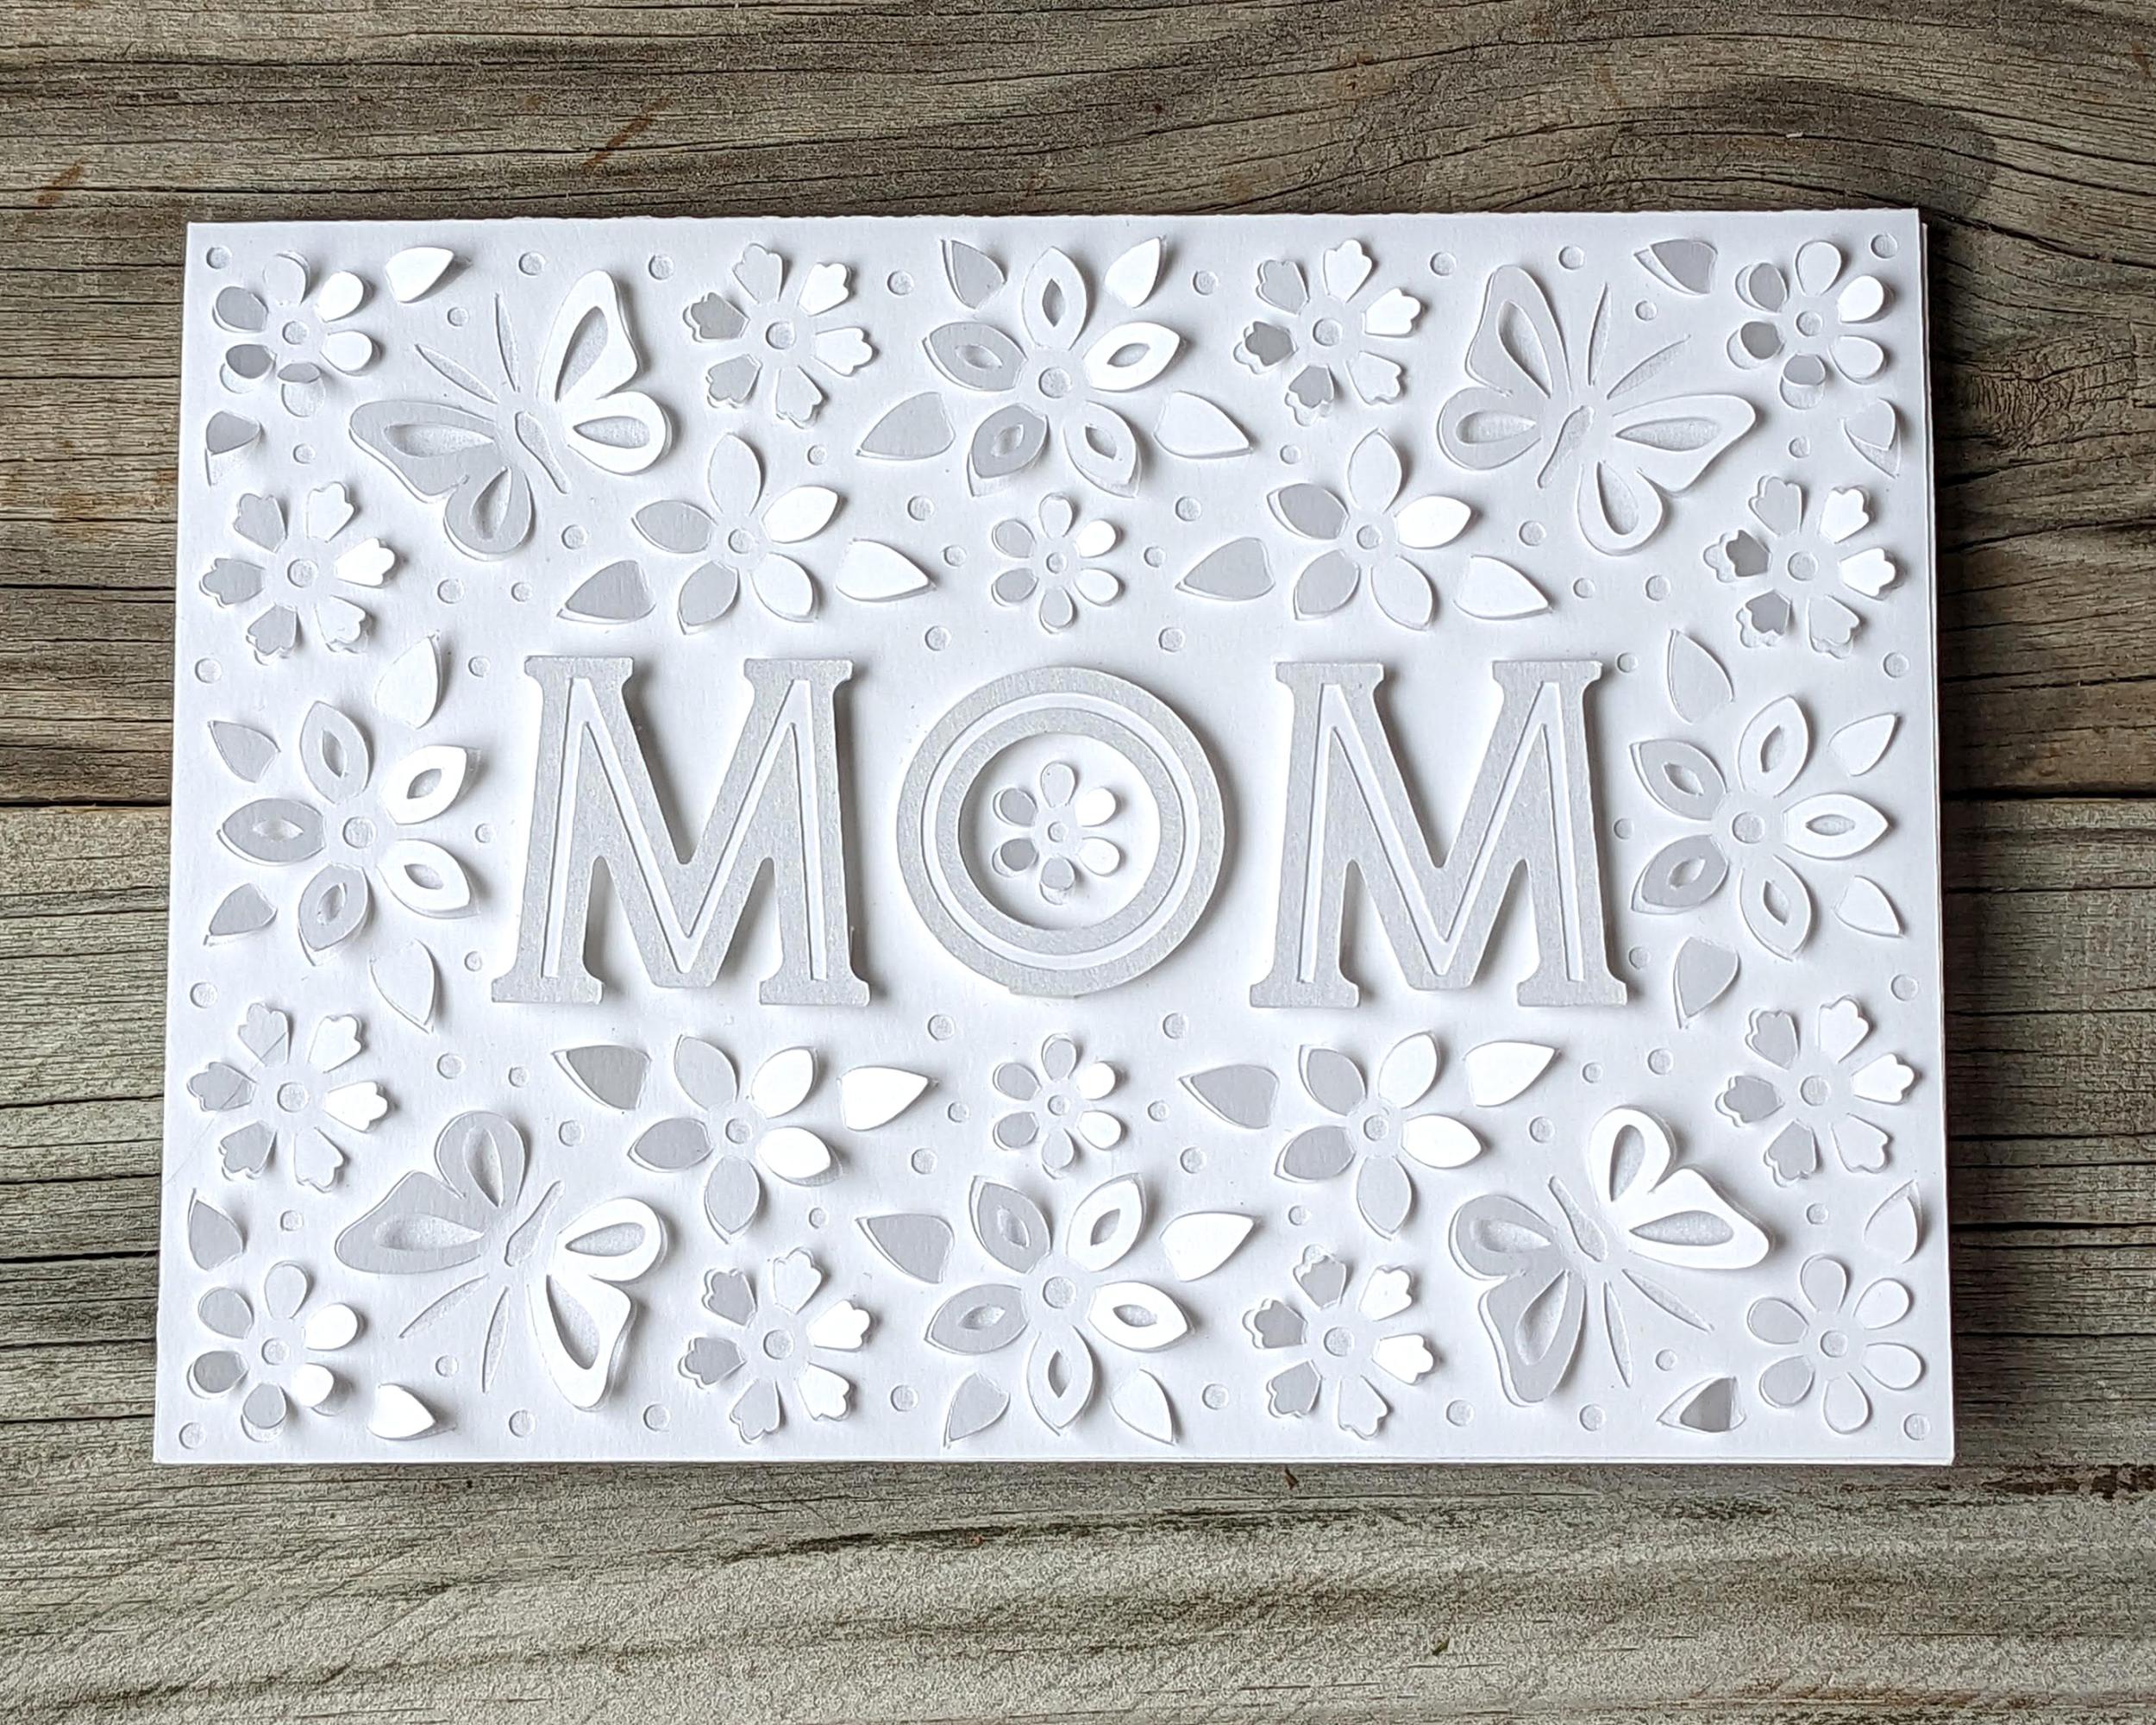
This listing is for an SVG file that creates a beautiful, paper cut style mom card with dimensional flowers, leaves, and butterflies. This mom card SVG would make a beautiful mothers day gift, mom birthday gift, or any occasion that you’re giving mom a card. Though this card has a beautiful, impressive appearance, your cutting machine does most of the work for you and it is super easy and quick to make. This beautiful card is a keepsake your mom will want to keep for years to come. Includes 5×7 envelope SVG file to fit the card.


Designed by: Sarah Johnson

Release date: May 4, 2023

Finished size: 5” wide x 7” tall x 1/4” deep


Paper needed: Card stock

Adhesive recommended: Tombow Mono Multi Liquid Glue, or your preferred adhesive

Additional supplies needed: Adhesive foam tape (optional)

Additional information

Dimensions6307496707 × 63070696708 in
License & Usage

Personal Use Only

Assembly Instruction Type

Written

Compatible Machines

Brother Scan N Cut, Cricut Explore Series, Cricut Maker Series, Silhouette Cameo, Silhouette Portrait

Files Included

,

Paper Size / Mat Size

8.5" x 11"

Assembly Instructions

  1. Make sure all inner cut out pieces have fallen out of the design on the front of the card, then go through and bend each of the cut out petals, leaves, and butterfly wings forward so they stand up.
  2. Put glue on the back of the front of the card, then attach the card front backer piece there, lining up the edges. Make sure that none of the dimensional cut outs are getting stuck down in the glue.
  3. Glue the mom backer letters to the backs of each of the mom letters.
  4. If you’re using adhesive foam tape to add dimension, add some to the back of each of the letters.
  5. Attach the letter O to the card first, centering the inside of it around the flower in the center of the card. Then attach each letter M on each side of the O, keeping things lined up and level.
  6. Finally, fold the card shut.

Please note: you’ll need to be very careful when putting the card into the envelope. You can place the card face down and press on it beforehand to flattern the design out, and when sliding the card into the envelope, lift the front of the envelope up as much as possible to keep things from catching. If you find it too tricky to put the card inside, you can cut another copy of the card front backer piece and lay it on top of the card to keep things from catching when sliding it into the envelope.